How to Safely Inspect Your Roof for Storm Damage
After a storm rolls through Tampa, the instinct is immediate: get outside and check the roof. That instinct is right. But how you do it matters just as much as whether you do it at all.
Falls from rooftops are among the most common causes of serious injury during post-storm cleanup. Wet shingles, compromised decking, and poor footing conditions turn a well-intentioned inspection into a dangerous situation fast. This guide walks you through a safe, systematic approach to storm damage inspection — covering what you can do yourself, what to watch for, and where the line is between a homeowner's job and a professional's.
Why Storm Damage Inspection Matters in Tampa
Tampa sits in one of the most active storm corridors in the country. Between Gulf-side tropical systems, afternoon thunderstorms, and seasonal hurricane threats, roofs here take a beating that roofs in most other markets simply don't.
Even minor storm events can dislodge flashing, crack ridge caps, or drive moisture under underlayment. Left unchecked, those small entry points become major interior damage problems — ceiling stains, mold growth, rotted decking — within weeks, not months.
A timely inspection isn't just about catching damage. It's about protecting your ability to file an insurance claim while the event is documented and fresh. Most policies require prompt reporting of storm-related losses. Waiting too long can give insurers grounds to question whether the damage is truly storm-related.
Ground-Level Inspection: Start Here
The safest roof inspection starts from the ground. You'd be surprised how much is visible without ever leaving solid footing.
Walk the Perimeter
Walk slowly around the full perimeter of your home with a pair of binoculars if you have them. You're looking for obvious roof damage signs: missing shingles, lifted tabs, visible gaps at the ridge line, or sections where the roofline appears to sag or dip.
Check the gutters and downspout areas. Granule accumulation — that sand-like residue that washes off aging or storm-struck asphalt shingles — is a telling sign of impact damage. A significant amount after a single storm warrants a closer look.
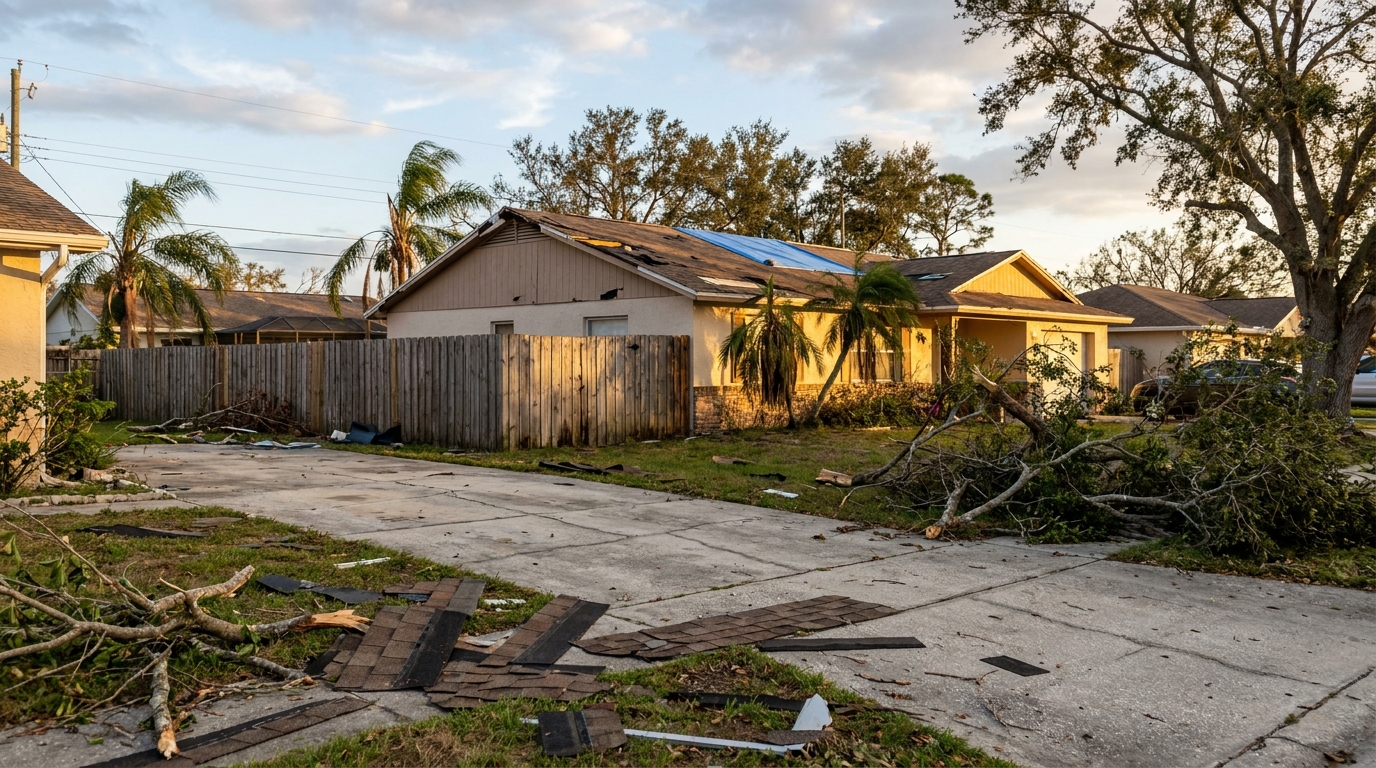
Check for Debris Patterns
Look at where debris landed. Branches, leaves, and storm material often show you where wind entered from and what parts of the roof took the most exposure. Heavy debris concentration on one slope usually means that slope absorbed the brunt of the event.
Look at Neighboring Homes
In a neighborhood setting, neighboring roofs can give you reference points. If every house on your street shows visible shingle damage and yours looks untouched, that's useful context. If yours stands out as the only one with lifted tabs or missing sections, that warrants attention.
Attic Inspection: Your Second Line of Evidence
Before you consider going up, go in. Your attic offers some of the clearest evidence of roof damage without requiring you to leave ground level.
Bring a flashlight and look for daylight penetration — any visible light coming through the decking or at the eaves is a problem. Look for water staining on the underside of the sheathing, damp insulation, or active moisture. Check the rafters for dark streaks, which indicate water has been running along the wood grain.
Document everything with your phone camera. Time-stamped photos taken immediately after a storm are some of the most valuable evidence you'll have in an insurance claim conversation.
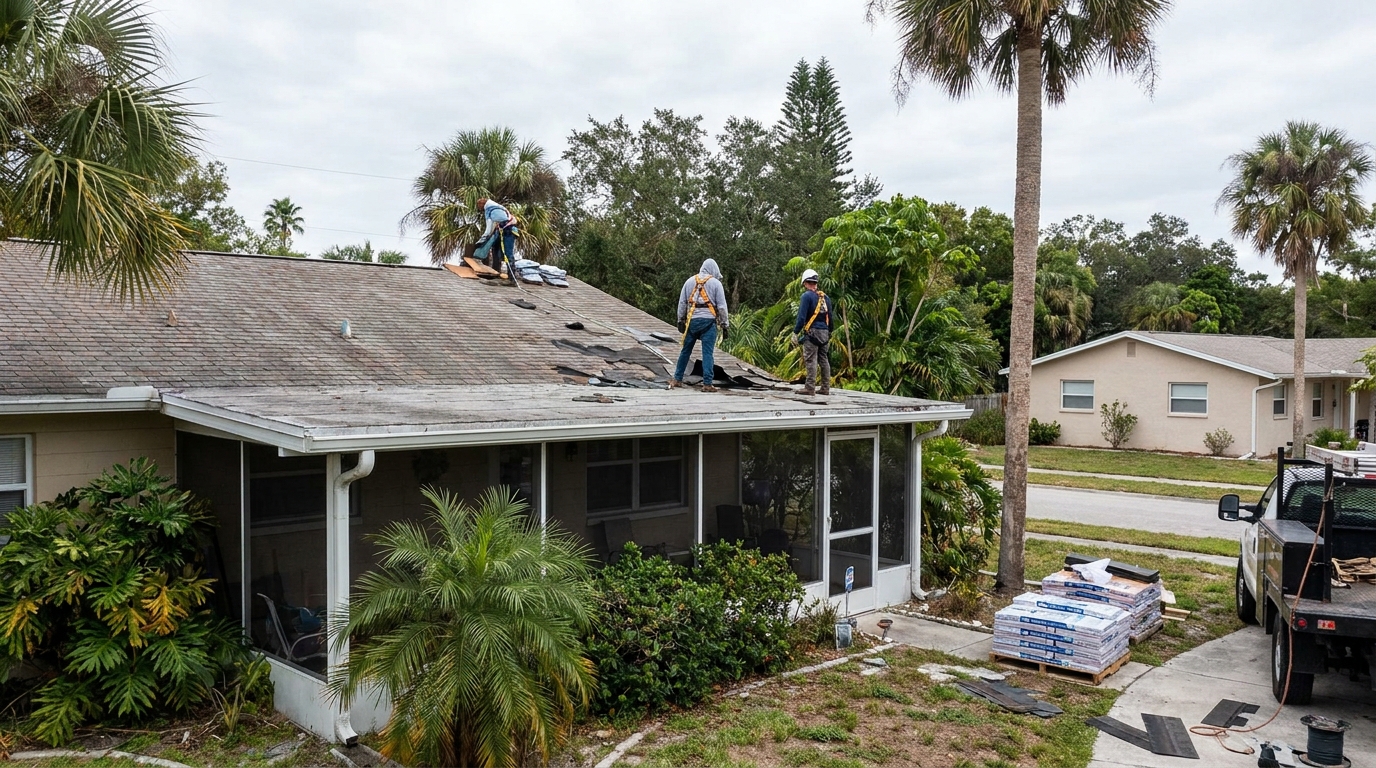
If You Must Go Up: Roof Safety Tips That Matter
Most homeowners don't need to go on the roof to make a useful assessment. But if you have a low-slope roof, good physical condition, and the right equipment, here's how to do it safely.
Wait Until Conditions Are Safe
Never get on a roof that is wet, still damp, or covered in debris. Asphalt shingles lose significant traction when wet. Give the roof at least several hours of dry weather before considering access.
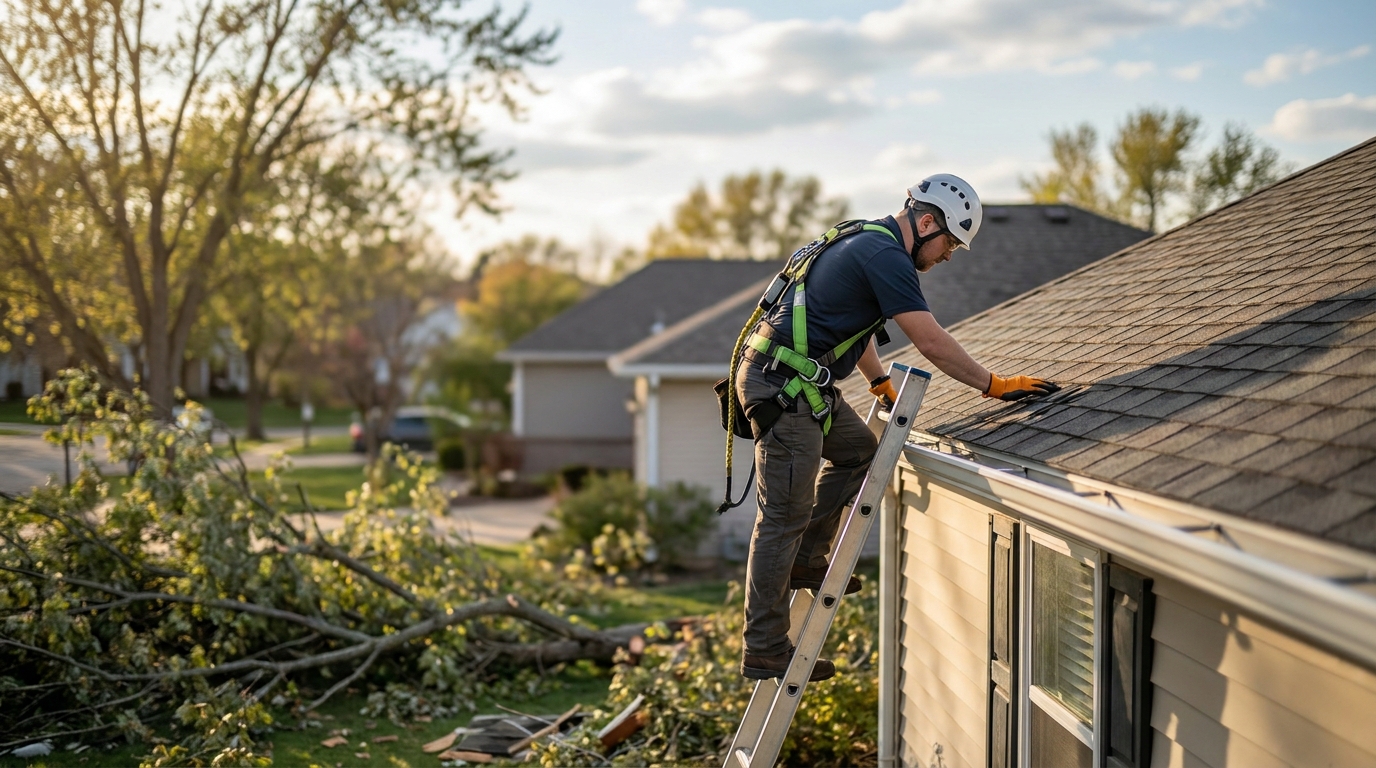
Use the Right Equipment
Use a properly rated extension ladder — secured at the base and stabilized against the roofline. Wear rubber-soled footwear with ankle support. Never carry tools in your hands while climbing; use a tool belt or bucket.
Tell someone you're going up. That's not overcautious — it's basic job site protocol that professional crews follow on every single project.
Move Slowly and Test Before Committing Weight
Step onto the roof slowly and test each section before shifting your full weight. If an area feels spongy or soft, stop. Soft decking means the structural integrity beneath may be compromised — that surface can give way without warning.
Stay on the lower portion of the roof near the eaves. Avoid ridges and peaks unless you have roofing experience and proper fall protection equipment.
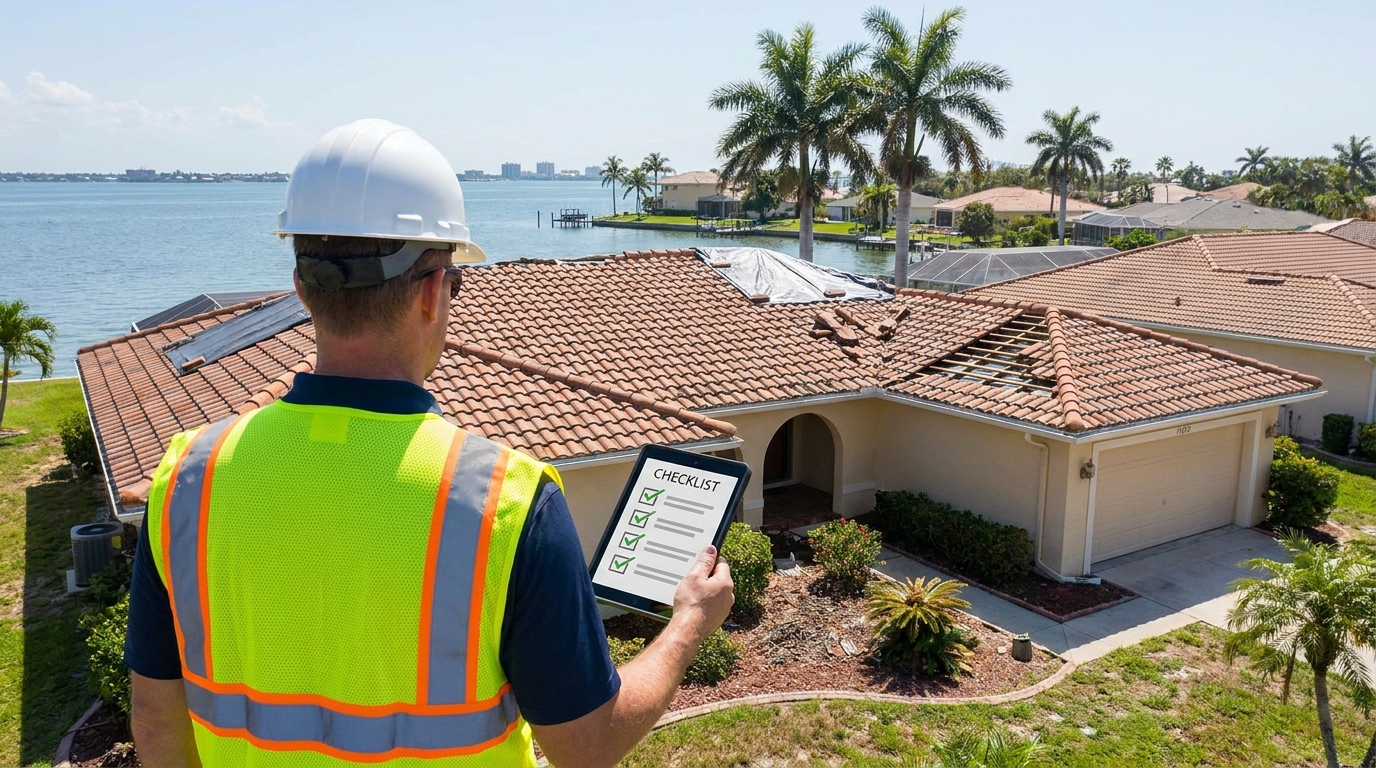
Key Roof Damage Signs to Document
Whether you're on the ground, in the attic, or on the roof, these are the specific conditions to record during your storm damage inspection:
- Missing or lifted shingles: Wind damage often lifts shingles at corners and tabs. Look for gaps in the shingle field or shingles sitting at an angle.
- Cracked or broken shingles: Impact from hail or debris can crack shingles without displacing them. Look for fracture lines running across the shingle face.
- Hail impact marks: Hail hits leave circular bruising or impact craters on asphalt shingles, often knocking granules loose and exposing the fiberglass mat beneath.
- Damaged or displaced flashing: The metal flashing around chimneys, skylights, and pipe boots is a common failure point after high winds. Lifted or bent flashing creates immediate leak potential.
- Ridge cap damage: The ridge cap runs the full peak of your roof and is particularly exposed. Missing or cracked ridge caps are a straightforward sign of wind damage.
- Fascia and soffit damage: Wind-driven rain frequently damages fascia boards and soffit panels. Damage here often accompanies roof damage and affects attic ventilation.
- Gutter damage: Bent, separated, or pulled gutters indicate high-force wind or impact loading — conditions that can simultaneously affect the roofline above.
When to Step Back and Call a Professional
There's a clear point where a homeowner's inspection ends and a roofing professional's begins. Recognizing that line is part of doing this safely.
Call a licensed roofing contractor when you see active leaking, when you find soft or spongy areas on the decking, when damage appears extensive across multiple slopes, or when the roof pitch is steep enough that safe footing isn't realistic. You should also get a professional inspection before filing any insurance claim — a documented professional assessment carries weight in the claims process that a homeowner's photos alone often don't.
SCM Roofing, LLC performs post-storm inspections for Tampa homeowners and provides detailed documentation that holds up in insurance conversations. One customer described their experience: Robbie answered all my questions and concerns — I had a lot of questions. That level of responsiveness is what the storm damage claims process often requires, because the questions don't stop at the first phone call.
Frequently Asked Questions
Is it safe for a homeowner to inspect their own roof after a storm?
A ground-level and attic inspection is safe and recommended for most homeowners. Going onto the roof carries meaningful risk and should only be attempted on low-slope roofs in dry conditions with proper equipment. When in doubt, a professional inspection is the safer and often more thorough option.
How soon after a storm should I inspect my roof?
Inspect as soon as conditions are safe — typically within 24 to 48 hours of the storm passing. Early documentation is important both for catching damage before it worsens and for any potential insurance claim you may need to file.
What does hail damage look like on asphalt shingles?
Hail damage appears as circular impact marks on the shingle surface, often with granule loss at the impact point. The exposed area may look darker than the surrounding shingle because the fiberglass mat beneath the granule layer is showing. On metal components like flashing or gutters, hail leaves round dents.
Can I do a roof inspection myself for an insurance claim?
You can document damage yourself, and doing so promptly is valuable. However, insurance adjusters and contractors work from professional assessments. Having a licensed roofing contractor inspect and document the damage before your adjuster arrives puts you in a stronger position during the claims process.
What's the difference between wind damage and normal wear on a roof?
Wind damage tends to be directional — concentrated on the windward side or at corners and edges where uplift pressure is highest. Normal wear distributes more evenly across the roof surface over time. Missing tabs in a pattern, lifted shingles on a single slope, or displaced flashing following a storm are typically wind-related, not aging-related.
The Bottom Line on Post-Storm Roof Inspections
A smart post-storm inspection follows a clear sequence: ground-level walk first, attic check second, roof access only if conditions and your comfort level genuinely support it. Document everything. Know the damage signs. And recognize when the situation calls for professional eyes.
Tampa homeowners who want a thorough post-storm assessment handled professionally can reach SCM Roofing, LLC at scmroofingfl.com. They're GAF Master Elite Certified, carry strong local reviews reflecting consistent communication and workmanship, and have experience navigating the specific storm damage patterns common to this region. For a situation where documentation and accuracy matter as much as the repair itself, that combination is worth knowing about.
"